Creating an Enchanting Moss Wall: A Step-by-Step Guide
In the world of interior design, a captivating trend is on the rise, one that brings the serene beauty of nature indoors. Moss walls, once reserved for botanical gardens and eco-conscious enthusiasts, have now firmly established themselves as a symbol of sustainable elegance in the realm of interior decor.
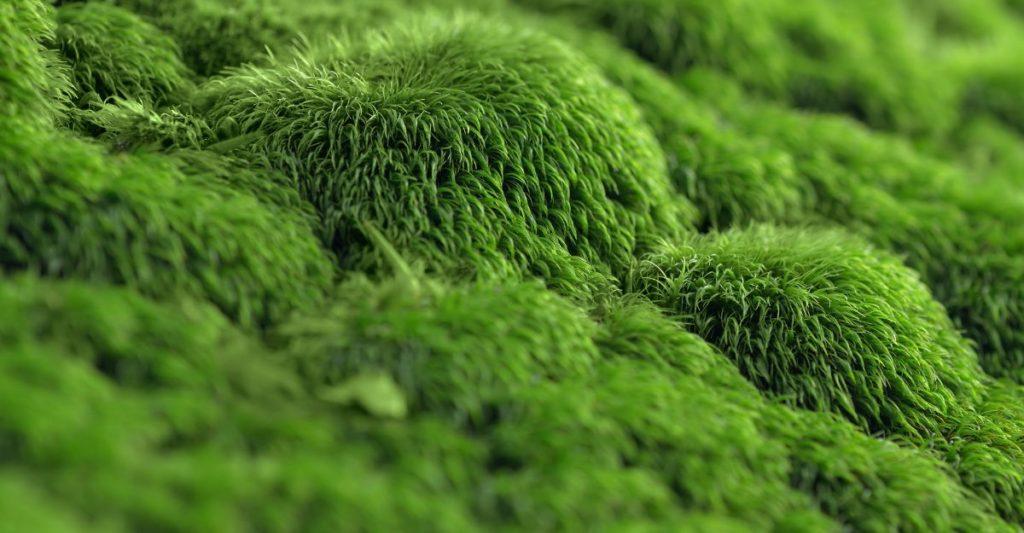
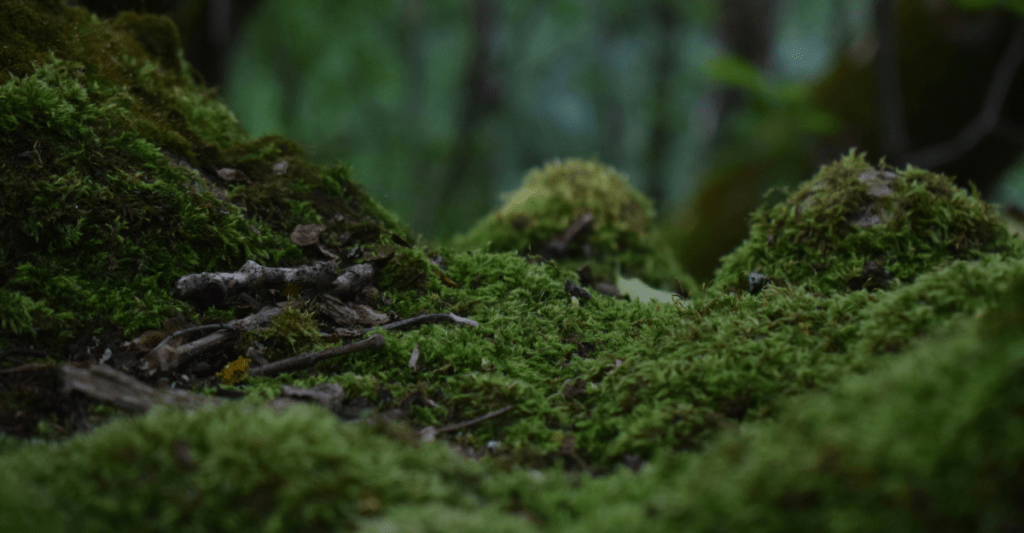
With their lush, velvety textures and vibrant shades of green, moss walls have become more than just decorative elements; they are living, breathing works of art that infuse spaces with a touch of magic.
As we journey through this guide, we’ll unveil the enchantment of moss walls and explore why they’ve gained such immense popularity in recent years.
Beyond their aesthetic appeal, moss walls offer a wealth of benefits that extend far beyond mere decoration. They enhance indoor air quality, create natural sound barriers, and, perhaps most importantly, connect us with the tranquility of the great outdoors.
But here’s the real gem: with a dash of creativity and a touch of know-how, you can craft your very own moss wall masterpiece. Whether you’re seeking to revitalize your home, transform your office, or simply want to embark on a unique and rewarding DIY project, this guide is your roadmap to bringing the beauty and serenity of moss walls into your life.
So, let’s embark on this green journey together and discover how to create stunning moss walls that not only enrich your spaces but also your connection with the natural world.
Materials and Tools for Creating a Moss Wall:
1. Moss:
- Sphagnum moss or sheet moss: These are commonly used for moss walls. You can also opt for preserved or stabilized moss, which requires less maintenance.

2. Substrate Material:
- Plywood or medium-density fiberboard (MDF): These materials serve as the base for your moss wall.
3. Adhesive:
- Strong adhesive suitable for moss and your chosen substrate. Consider non-toxic, low-VOC options for eco-friendliness.
4. Frame or Backing Material (Optional):
- If you want to frame your moss wall, you’ll need suitable materials such as wood, metal, or acrylic.
5. Gloves:
- Protect your hands while working with moss and adhesive.
6. Utility Knife or Scissors:
- For cutting moss sheets and trimming edges.
7. Measuring Tape and Ruler:
- Ensure accurate measurements for your moss wall.
8. Paint and Brushes (Optional):
- If you wish to paint your substrate or frame, have the necessary paint and brushes ready.
9. Mounting Hardware (Optional): – If you plan to hang your moss wall, you’ll need appropriate mounting hardware.
Sourcing Moss and Supplies:
- Local Garden Centers:
- Start by checking with local garden centers or nurseries. They often carry live moss varieties suitable for moss walls.
- Online Retailers:
- Numerous online retailers specialize in moss and moss wall supplies. Websites like Amazon, Etsy, and specialized moss shops can be great sources.
- Preserved/Stabilized Moss Suppliers:
- If you prefer preserved or stabilized moss for its low maintenance, various suppliers offer these options online.
- Craft Stores:
- Some craft stores may carry preserved moss suitable for smaller moss wall projects.
- Natural Environments:
- Depending on local regulations, you might consider sourcing moss responsibly from natural environments. Always check and follow local laws and conservation guidelines.
- Hardware Stores:
- Hardware stores are excellent sources for substrate materials, adhesive, and tools.
When sourcing materials and moss, be sure to consider the size of your project, the type of moss you want, and any specific design requirements. Additionally, pay attention to the sustainability and eco-friendliness of your choices, especially if environmental concerns are a priority for your moss wall project.
Preparing the Wall Surface for Your Moss Wall:
1. Cleaning the Wall:
- Begin by thoroughly cleaning the wall where you plan to install your moss. Remove any dirt, dust, cobwebs, or debris using a soft brush or a vacuum cleaner with a brush attachment. A clean surface will ensure better adhesion.
2. Checking for Moisture:
- Moisture can affect the longevity of your moss wall. Check for any signs of water leaks or dampness on the wall. Address and repair any leaks or moisture issues before proceeding.
3. Surface Inspection:
- Examine the wall for cracks, holes, or imperfections. If there are significant flaws, consider patching or repairing them using appropriate wall repair materials and techniques.
4. Priming the Wall:
- To enhance adhesion and create an ideal surface for your moss wall, apply a suitable primer. Choose a primer that is compatible with your wall’s material (e.g., drywall, plaster, or wood). Apply the primer evenly using a paint roller or brush, following the manufacturer’s instructions. Allow it to dry thoroughly before moving on to moss installation.
Necessary Structural Enhancements:
. Wall Anchors:
- For heavier moss installations or larger moss wall designs, consider reinforcing the wall’s structure. Wall anchors or heavy-duty wall mounts can distribute the weight and provide additional support.
2. Studs and Brackets:
- Identify the wall’s studs using a stud finder. If your moss wall is substantial in size, use brackets or mounting systems that can be anchored securely into the wall studs. This added stability ensures that your moss wall remains securely in place.
3. Consult a Professional:
- For particularly large or complex moss wall installations, it’s advisable to consult with a professional contractor or a structural engineer. They can assess the wall’s load-bearing capacity and recommend any necessary structural enhancements.
4. Consider the Weight of the Moss:
- Keep in mind that while moss is relatively lightweight, the substrate, adhesive, and frame (if used) will add to the overall weight of the installation. Ensure that the wall can support this weight safely.
Proper preparation and structural enhancements are crucial for the successful and long-lasting installation of a moss wall. By ensuring that the wall surface is clean, well-primed, and structurally sound, you’ll create an ideal canvas for your moss artistry to flourish.
Creating the Moss Wall Design:
1. Selecting a Moss Pattern:
- Begin by considering the pattern you want for your moss wall. Common patterns include geometric shapes, abstract designs, or even flowing, organic arrangements. The pattern should complement the overall aesthetic of your space.
2. Sketch Your Design:
- Before you start attaching moss, sketch your chosen design on the wall using chalk or a pencil. This will serve as your guideline and help ensure that you achieve the desired look.
3. Mixing Moss Varieties:
- To add depth and visual interest to your moss wall, consider using different varieties of moss with varying textures and shades of green. This can create a more dynamic and captivating design.
4. Gradation and Transition:
- Create a sense of depth or transition in your moss wall by arranging moss shades from lighter to darker or from one color to another. This technique can add dimension to your design.
5. Arrangement Tips:
- When arranging the moss on the wall, you can either create a uniform, even layer or arrange it in clusters and groupings for a more textured look. Experiment with different arrangements to find what suits your design best.
Incorporating Other Elements:
1. Driftwood or Branches:
- To add a natural, rustic touch to your moss wall, consider incorporating pieces of driftwood or branches. Attach them securely to the wall before adding the moss. They can serve as anchor points for the moss and create a more visually appealing composition.
2. Stones or Pebbles:
- Small stones or pebbles can enhance the moss wall’s aesthetics by providing contrast and texture. Place them strategically within the moss arrangement or along the base of the wall for an earthy touch.
3. Framing the Moss Wall:
- If you want to give your moss wall a finished look, consider framing it. Use wooden, metal, or acrylic frames to enclose the moss. This can also help protect the edges of the moss and create a visually appealing border.
4. Lighting:
- Incorporating subtle LED lighting can highlight the textures and colors of your moss wall, especially in low-light environments. Experiment with different lighting angles to achieve the desired effect.
5. Maintenance Considerations:
- Keep in mind that any additional elements you incorporate into your moss wall, such as driftwood or stones, should be easy to clean and maintain along with the moss.
Designing your moss wall is an opportunity to unleash your creativity and personalize your living or workspace. Whether you opt for a simple, minimalist pattern or a more intricate, nature-inspired design, the key is to ensure that it aligns with your vision and enhances the overall ambiance of the space.
Attaching Moss to the Wall: A Step-by-Step Guide
Materials and Tools:
- Moss
- Wall surface prepared as per previous instructions
- Suitable adhesive (e.g., adhesive spray, hot glue gun, or moss-friendly glue)
- Gloves
- Utility knife or scissors
Step 1: Prepare the Moss:
- If using preserved moss, ensure it is clean and dry.
Step 2: Apply the Adhesive:
- Choose an appropriate adhesive for your moss type and wall surface. Adhesive options include:
- Adhesive Spray: Spray an even layer of adhesive onto the wall surface where you plan to attach the moss.
- Hot Glue Gun: For smaller moss pieces or precise placements, you can use a hot glue gun to apply adhesive in small dots or lines on the wall.
- Moss-Friendly Glue: Some specialized moss-friendly glues are designed specifically for moss wall installations.
Step 3: Begin Moss Placement:
- Start attaching the moss from one edge of your designated design area. Press the moss gently onto the adhesive, holding it in place for a few seconds to ensure good contact.
Step 4: Work in Sections:
- To maintain control over the moss placement, work in small sections at a time. Apply adhesive to one section, attach moss, and move on to the next.
Step 5: Overlap and Blend:
- Overlap the edges of moss sheets or pieces slightly to create a seamless appearance. Blend different moss varieties and shades to achieve the desired texture and color transitions.
Step 6: Create Texture:
- If you desire a more textured look, use your fingers or a tool to gently press and shape the moss, creating depth and contours in your design.
Step 7: Allow for Drying Time:
- Depending on the adhesive you’ve chosen, allow the moss to dry and adhere securely to the wall. Refer to the adhesive manufacturer’s instructions for drying times.
Step 8: Trim Excess Moss:
- Once the moss is securely attached, use a utility knife or scissors to trim any excess moss from the edges of your design.
Step 9: Maintain and Enjoy:
- Your moss wall is now ready to be admired and enjoyed. Be sure to follow care and maintenance guidelines to ensure the longevity of your moss wall’s beauty.
Remember that the choice of adhesive is crucial for a successful moss wall installation. Ensure that it is safe for both the moss and your wall surface. By following these steps and taking your time, you can create a stunning moss wall that adds natural beauty and tranquility to your space.
Conclusion:
Now that you’ve uncovered the artistry of moss walls and learned how to create your own, it’s time to embark on a journey of transformation. Bring the beauty of nature into your spaces and watch as your walls come to life with lush, green vibrancy.
Customized Moss Walls
We’d love to see your moss wall creations! Share your masterpieces with us or reach out if you have any questions or need guidance along the way. Your journey into the world of moss walls is just beginning, and we’re here to support you every step of the way. If you would like us to customize a moss wall for you, please contact us today!
Let’s create spaces that inspire, soothe, and connect with the natural world. Happy moss wall crafting!


